Use the Learner Log to record information relevant to a learner at your institution (for example: this can include recording medical information, field trip details or behaviour information).
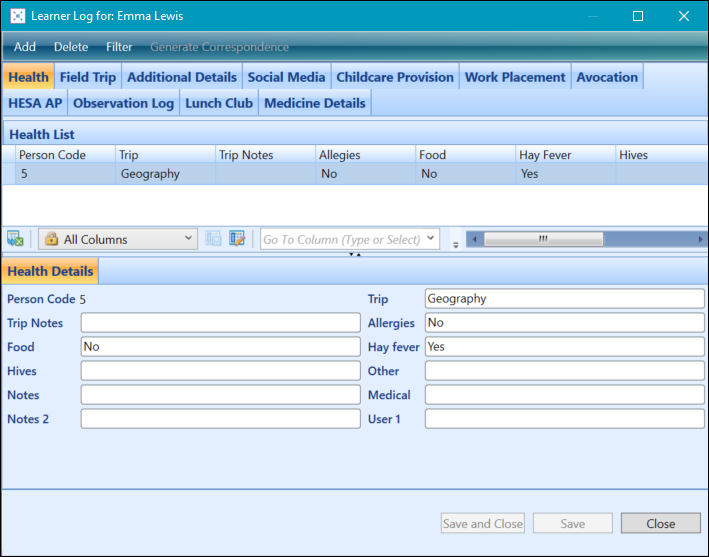
The Learner Log can be accessed from the following:
-
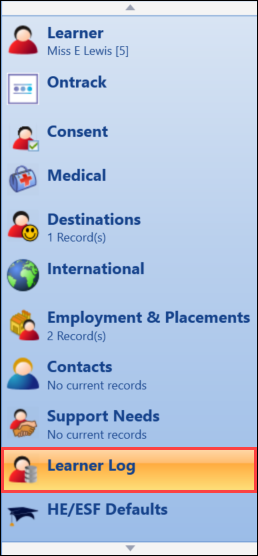
The Learner Log tab in the left-hand pane on the Learner Details screen
-
The Learner Log button on the Learner Manager ribbon

From the Learner Log, you can:
To add a Learner Log record:
-
Click the Add button at the top of the Learner Log window.
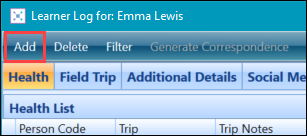
If you don’t have any records for this learner’s log, then the button will be greyed out. Instead, enter the learner log details in the fields provided.
-
Enter the details of the Learner Log record in the details section of the window.

-
Click the Save button to save the record. Alternatively, click the Save and Close button to save the record and close the Learner Log window.

Use the Learner Log feature on the Enrolments or Learners pages in learner manager to create custom log records in bulk. This enables the creation of the same record for multiple learners (for example: if there is an Attendance table in the Learner Log, you can add absence records in bulk using this process).

The Learner Log is a bespoke table that is created in the screen manager module. Roles for these tables are also created when a new table is published.
To bulk insert learner log entries:
-
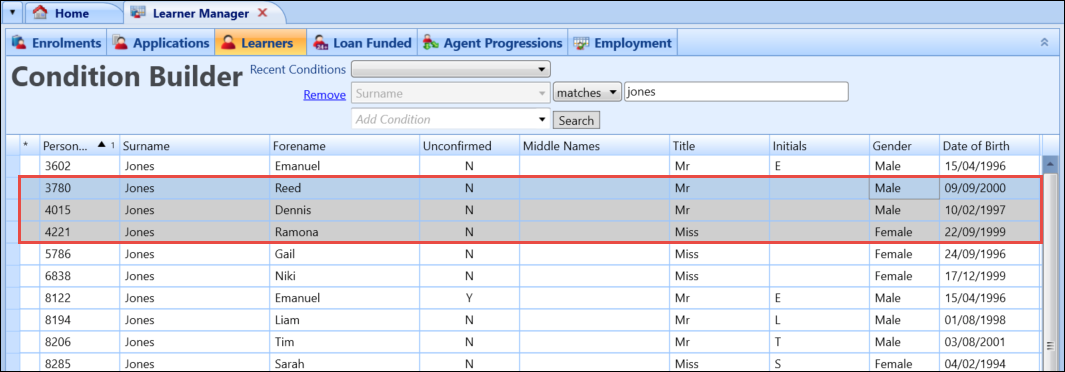
Use the Condition Builder on the Learners page to search for and display records.
-
Select the required records.
You can select multiple records using Shift-click (for a series of records), Ctrl-click (for individual records), or Ctrl-A (for all records).
-
Click the Learner Log button on the Learner Manager ribbon.
The list of selected learners is displayed in the Learner Log.

-
Enter the required details in the Learner Log, and then click Save and Close.
If the update is successful, the Save Successful message is displayed.
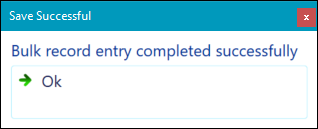
- Click OK to close the message.
To delete a Learner Log record:
-
Select the record you want to delete from the log list grid.
-
Click the Delete button at the top of the Learner Log window.
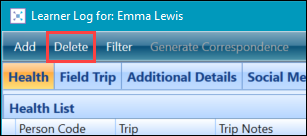
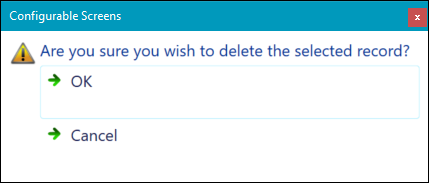
A message is displayed to confirm deletion.
-
Click OK.
The Learner Log record is deleted.
Use the Communications tab in the Learner Log window to record any communications made as part of the learner log. This enables you to record any contact you have with the learner or their parents or guardian in relation to the custom log (for example: if you had a table which recorded information on field trips, you can use the communication functionality to record any letters you have sent out to the learner’s parents regarding payment for the field trip).
To create a communication record in the Learner Log:
-
Click on the custom log you want to create a communication record for from the Learner Log window.

-
Select the record from the custom log you want to create a communication record for.

-
Click the Communications tab.

-
Click the Add button.

-
Enter the details for the communication record.

The fields in the Communications tab are described in the following table.
| This field | Holds this information... |
|---|---|
| Format Type | The type of communication being sent or received. This drop-down is populated by the Communication Format Type reference data. |
| Recipient | The name of the person receiving the communication. |
| Subject | The subject of the communication. |
| Body | The details of the communication. |
| Sent Date | The date the communication record was saved. This is automatically populated. |
-
Click the Save button to save the record. Alternatively, click the Save and Close button to save the record and close the Learner Log window.

The communication will now be added to the learner’s Communications Log in the Documents and Communications module.

Use the Actions tab to set actions to be completed for user created tables. These actions will display on the Home screen in Central for the appropriate user (for example: if you create an action to inform the receptionist to contact a parent regarding an unauthorised absence, this action will display when they check the Actions List screen (accessed from the Actions tab on the Home screen)).
To create an action record in the Learner Log:
-
Click on the user table you want to create an action record for from the Learner Log window.

-
Select the record from the user table grid that you want to create an action record for.

-
Click the Actions tab.

-
Click the Add button.

-
Enter the details for the actions record.

The fields in the Actions tab are described in the following table.
| This field | Holds this information... |
|---|---|
| Assigned To | The person code for the user who will receive the action. This is automatically populated with the person code of the logged in user, but can be edited. |
| Staff Name | The name of the person. |
| Notes | Any notes for the action. |
| Action Type | The type of action. |
| Complete | Whether the action has been completed. |
-
Click the Save button to save the record. Alternatively, click the Save and Close button to save the record and close the Learner Log window.

The action is then assigned to the relevant user and displayed on the Actions List screen.
